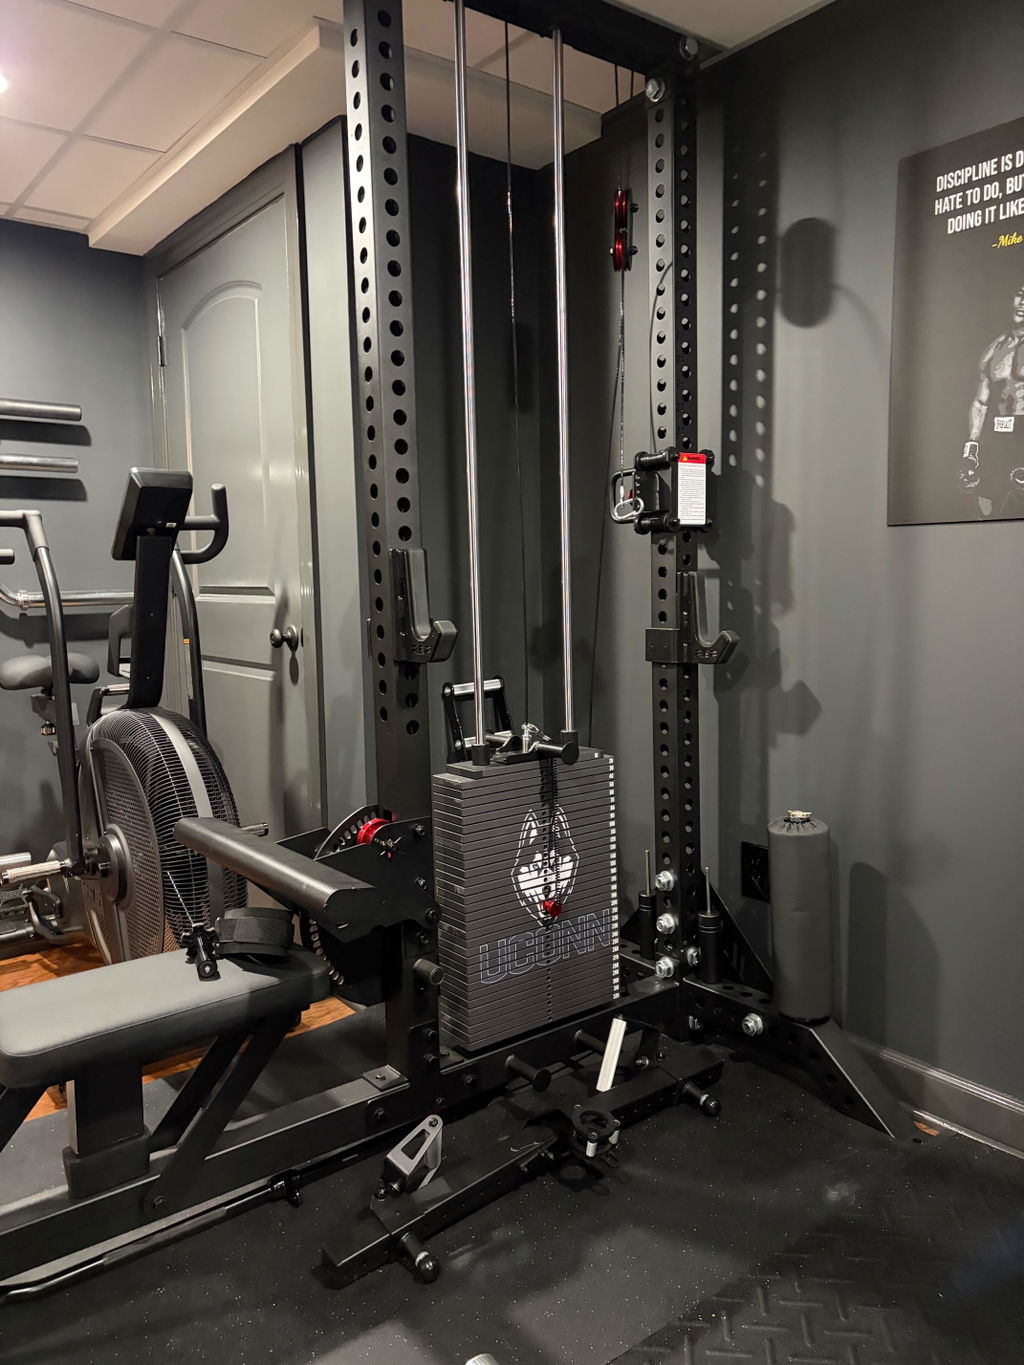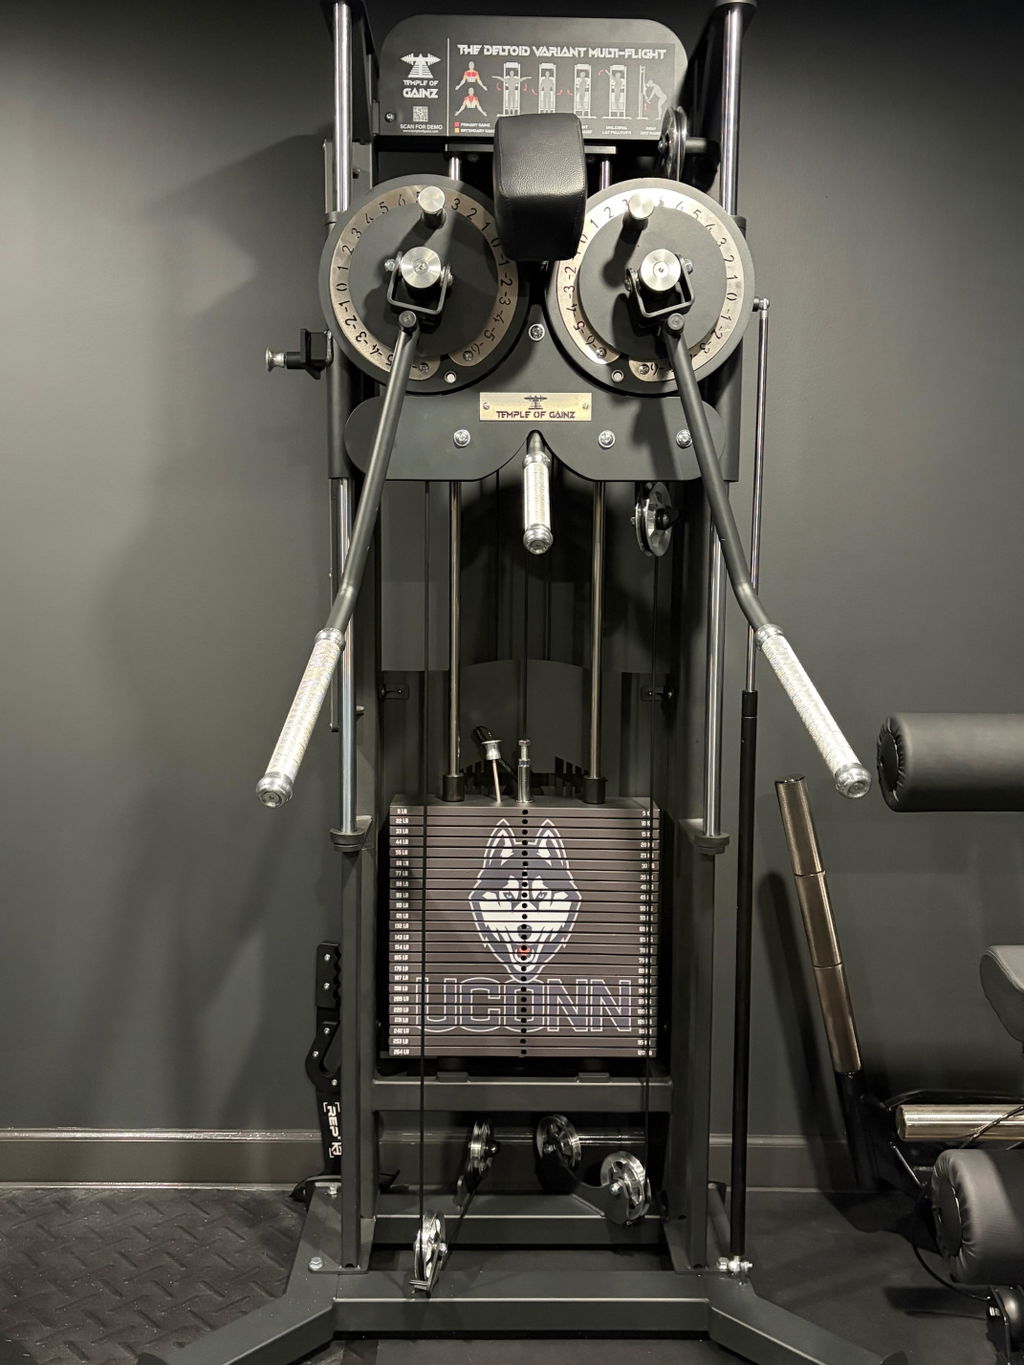
Custom Weight Stack Decals
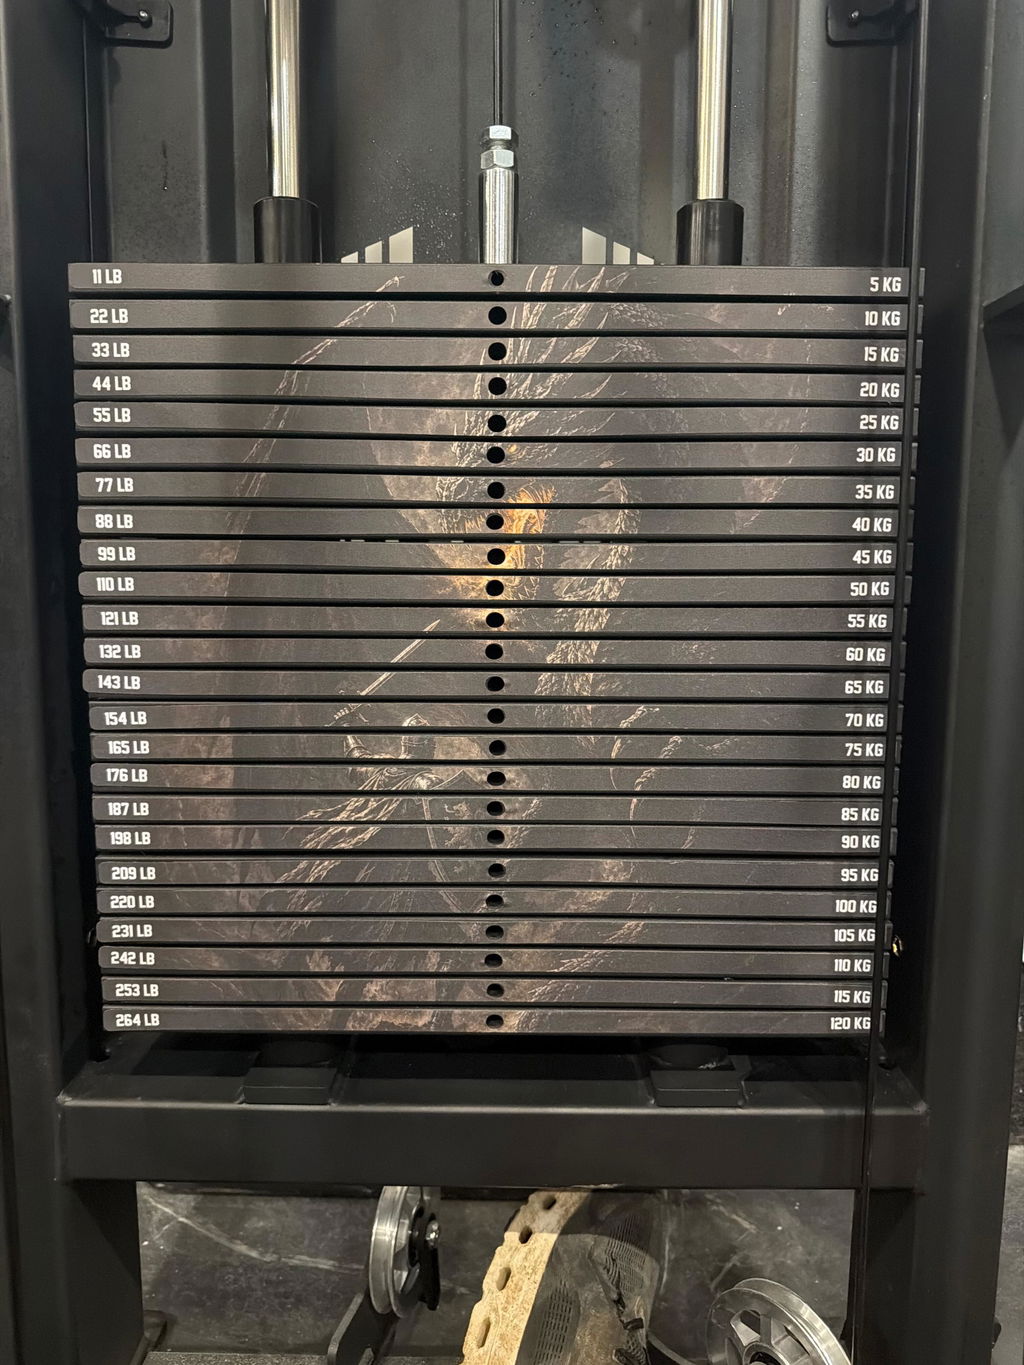
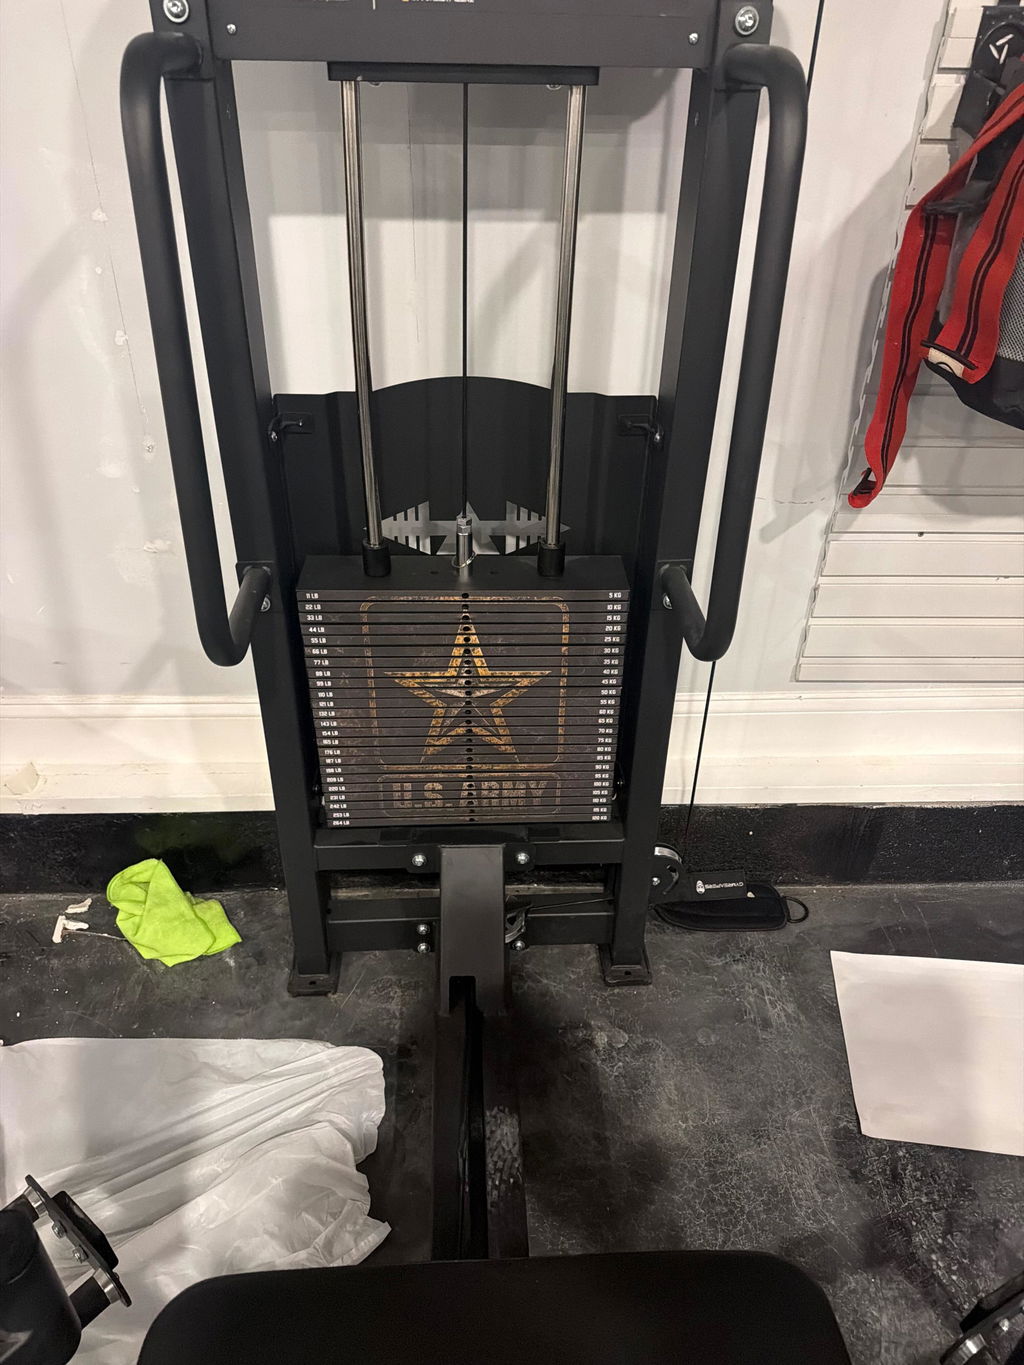
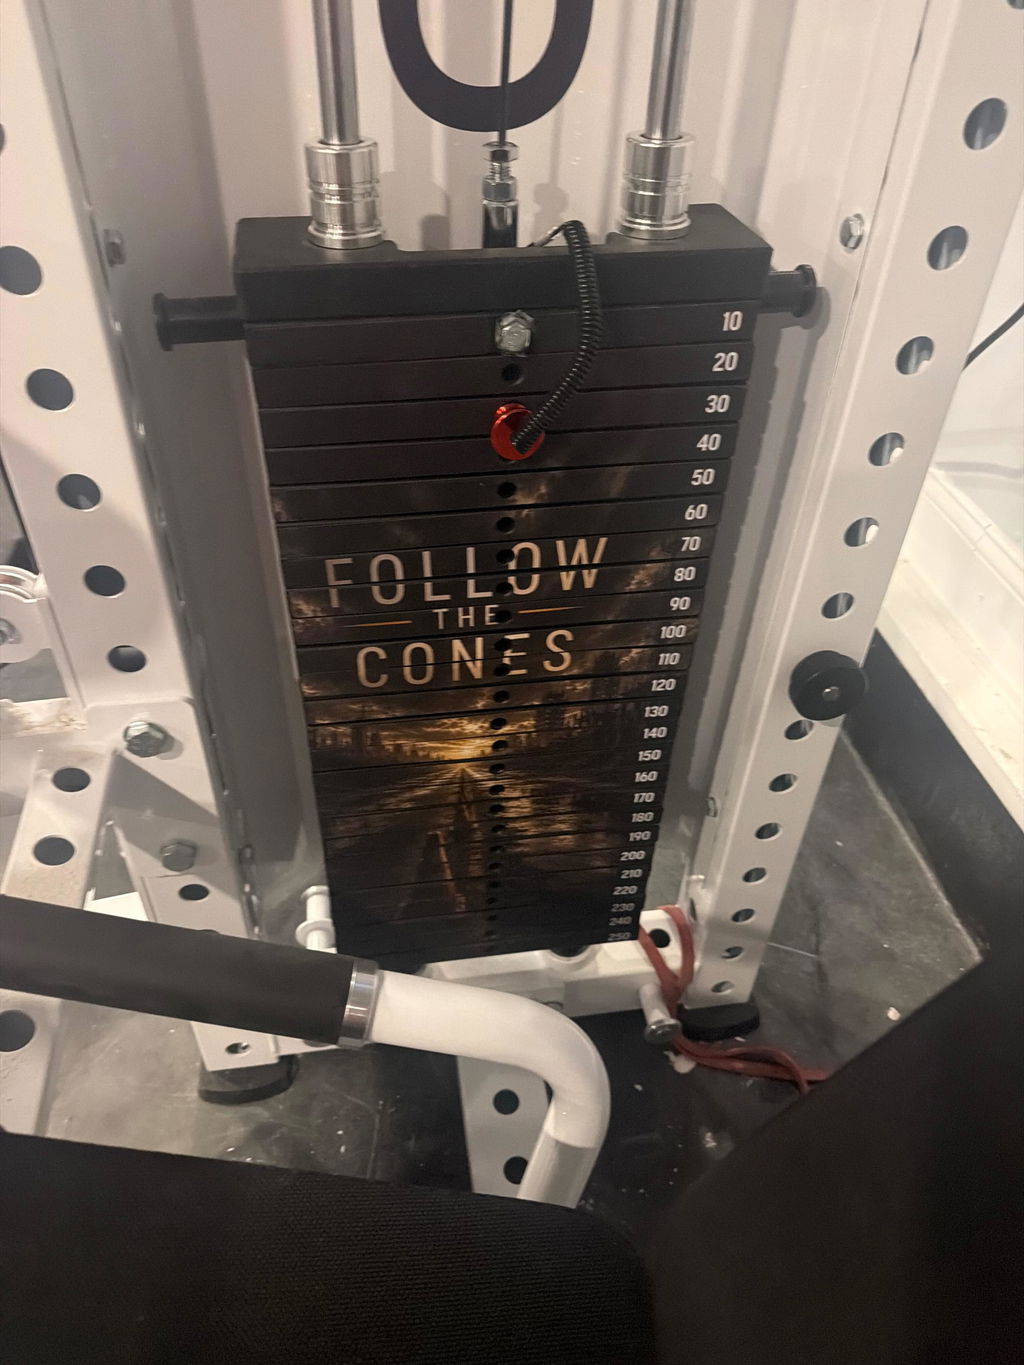
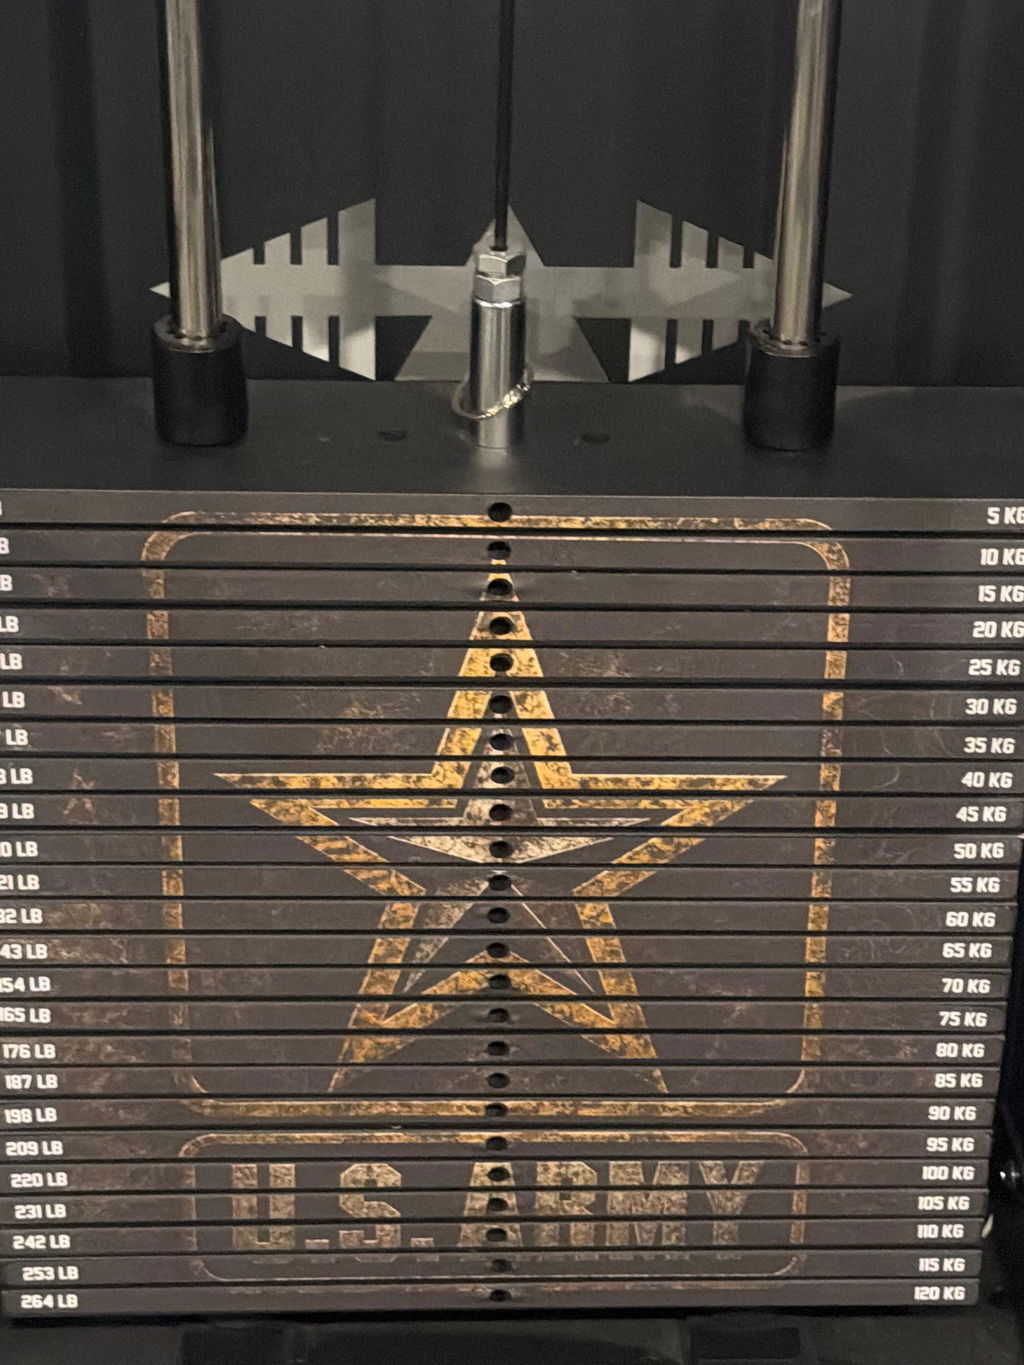
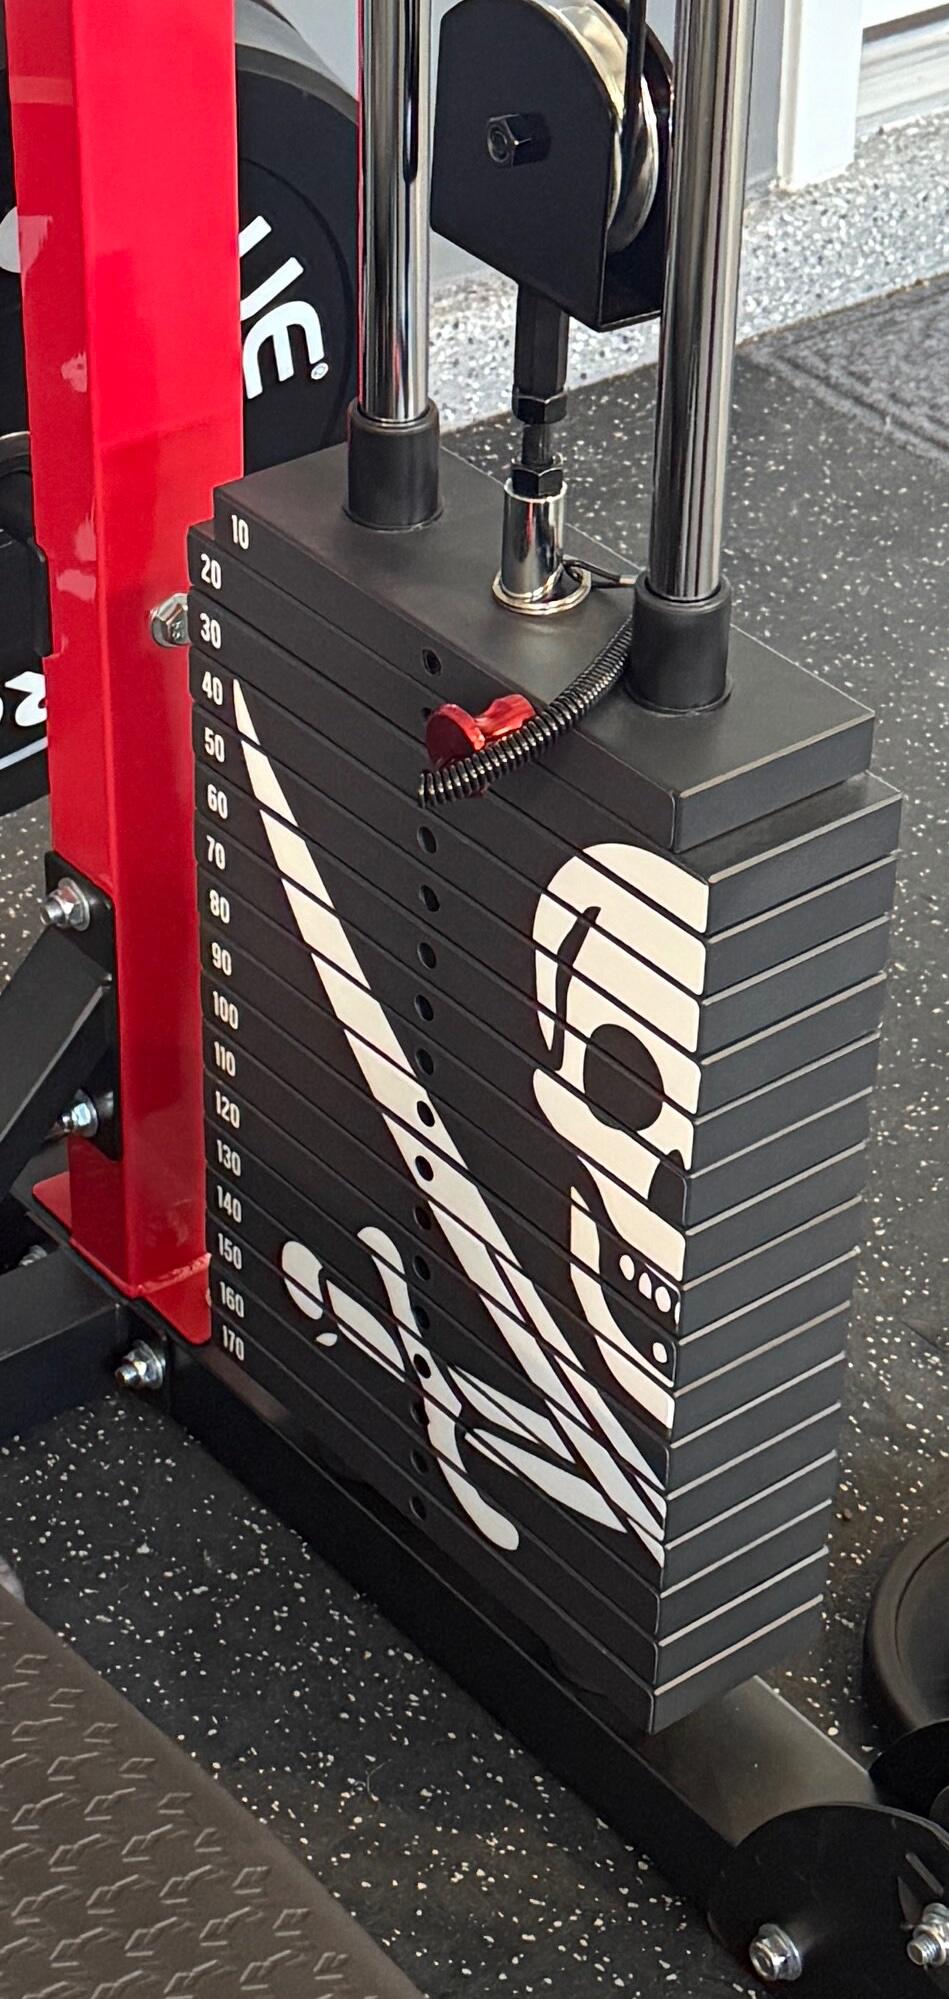
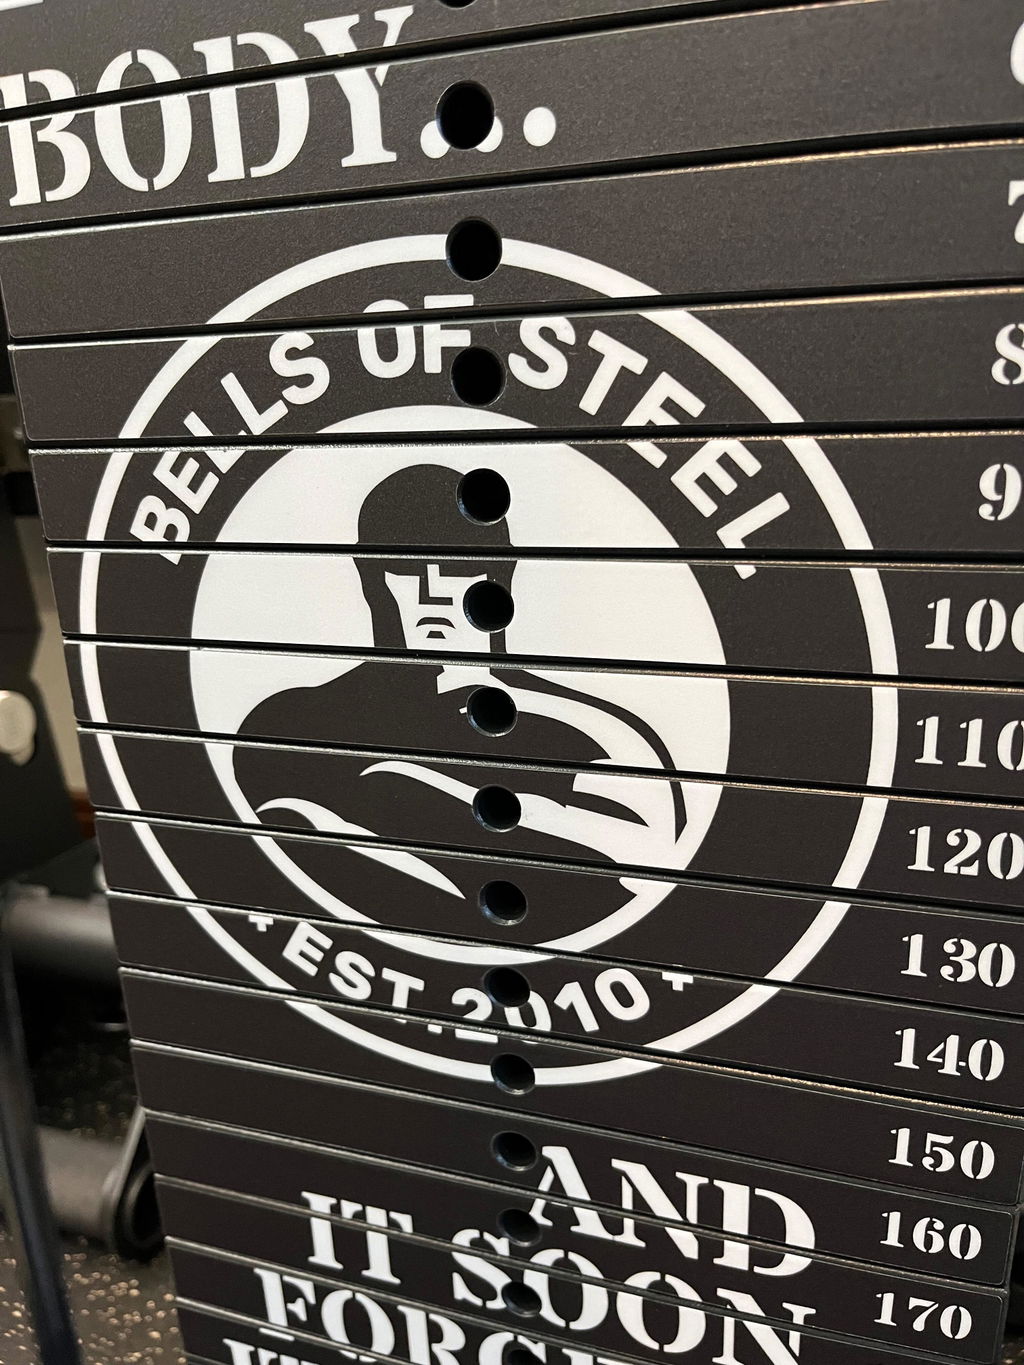
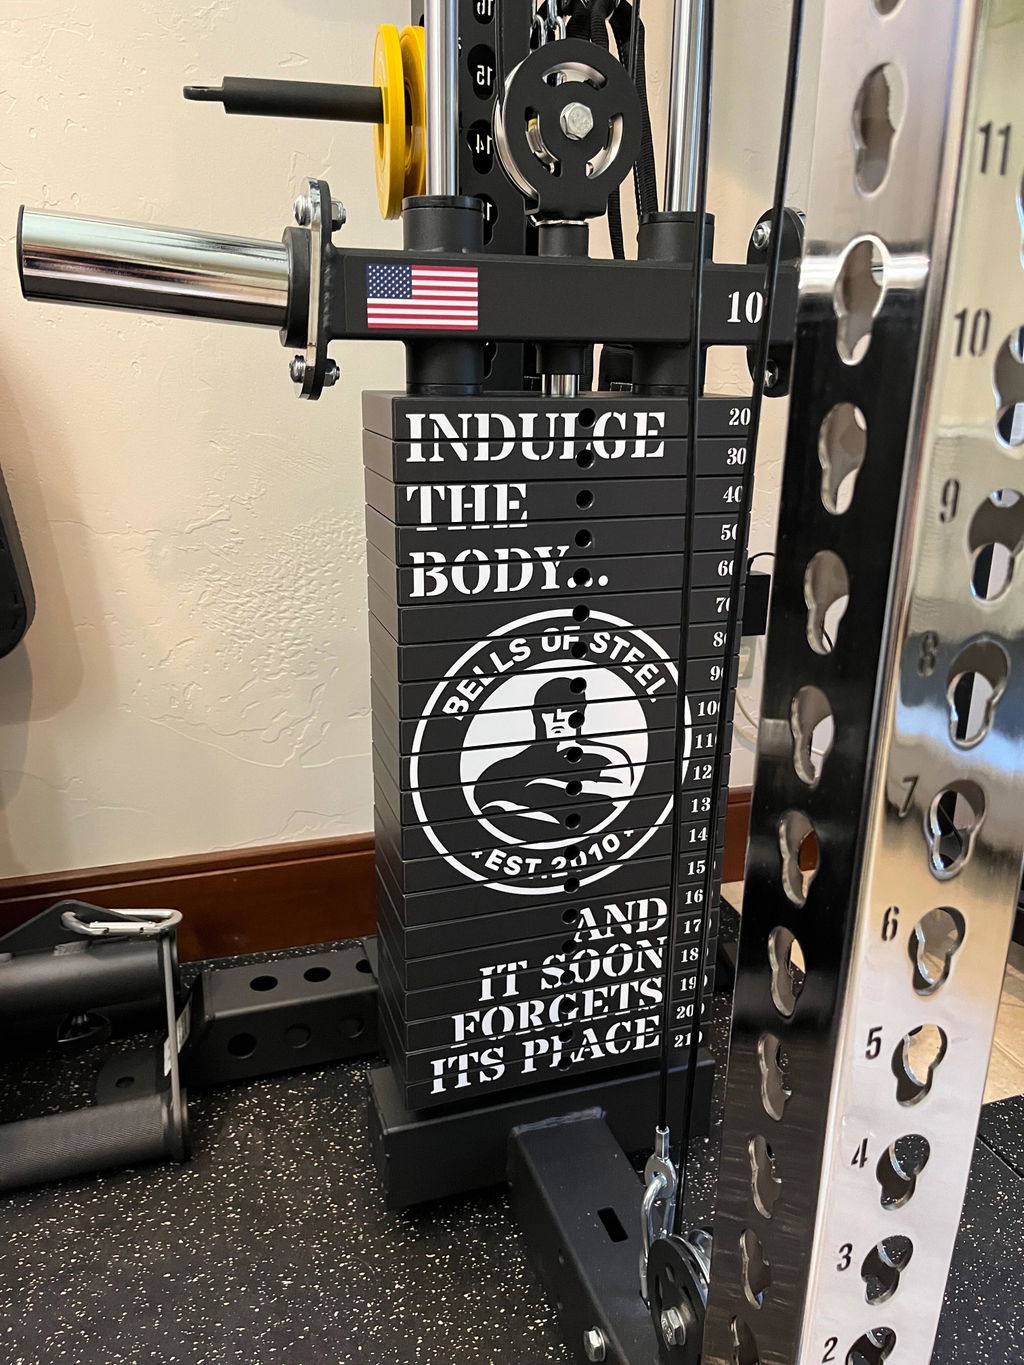
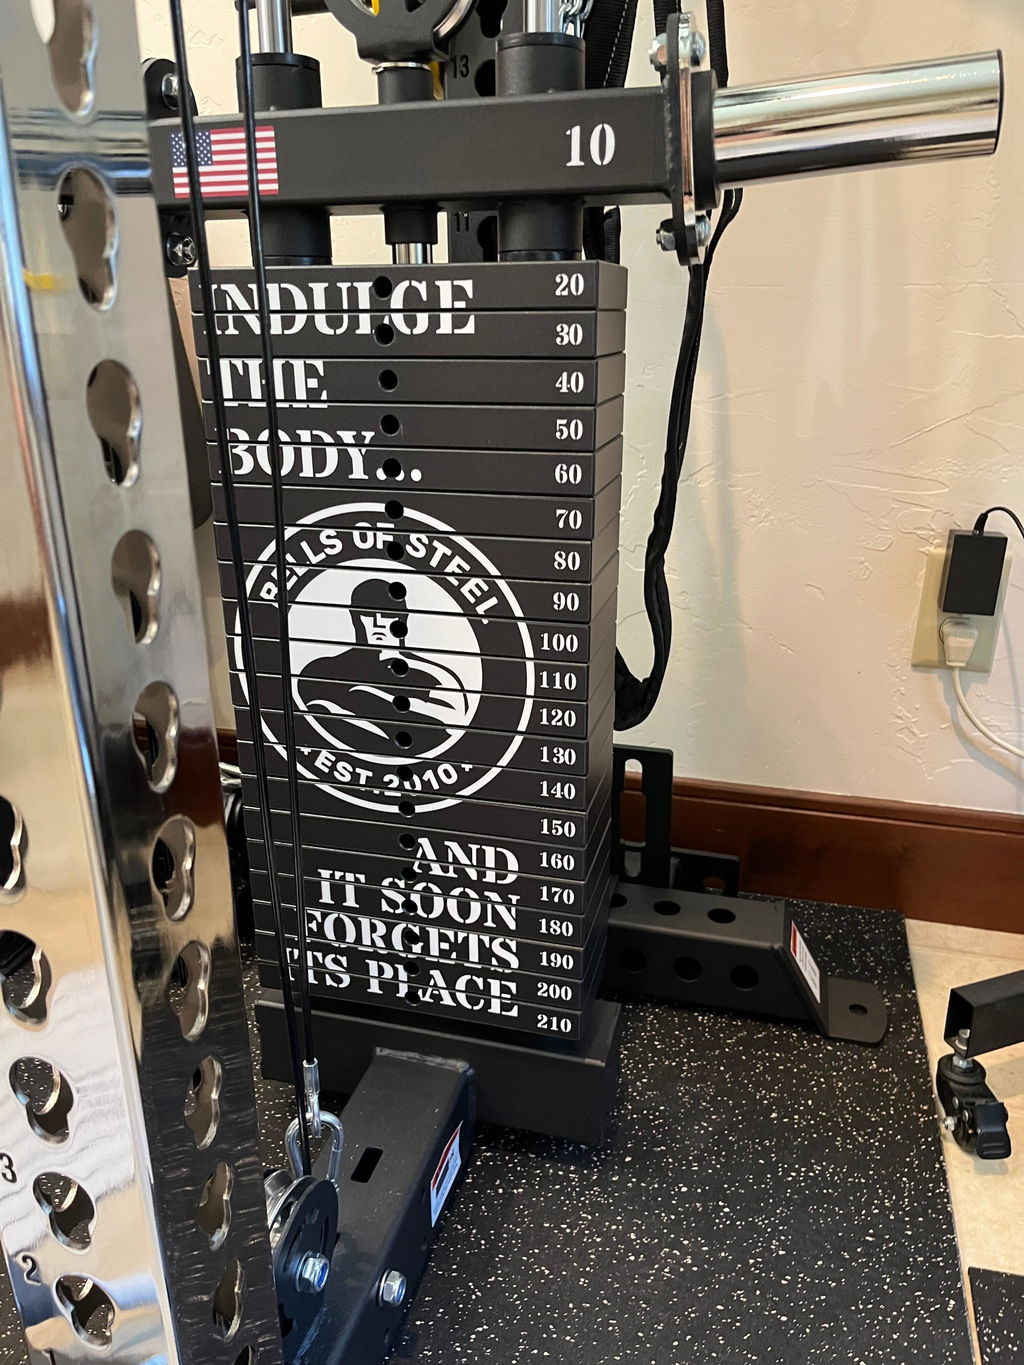
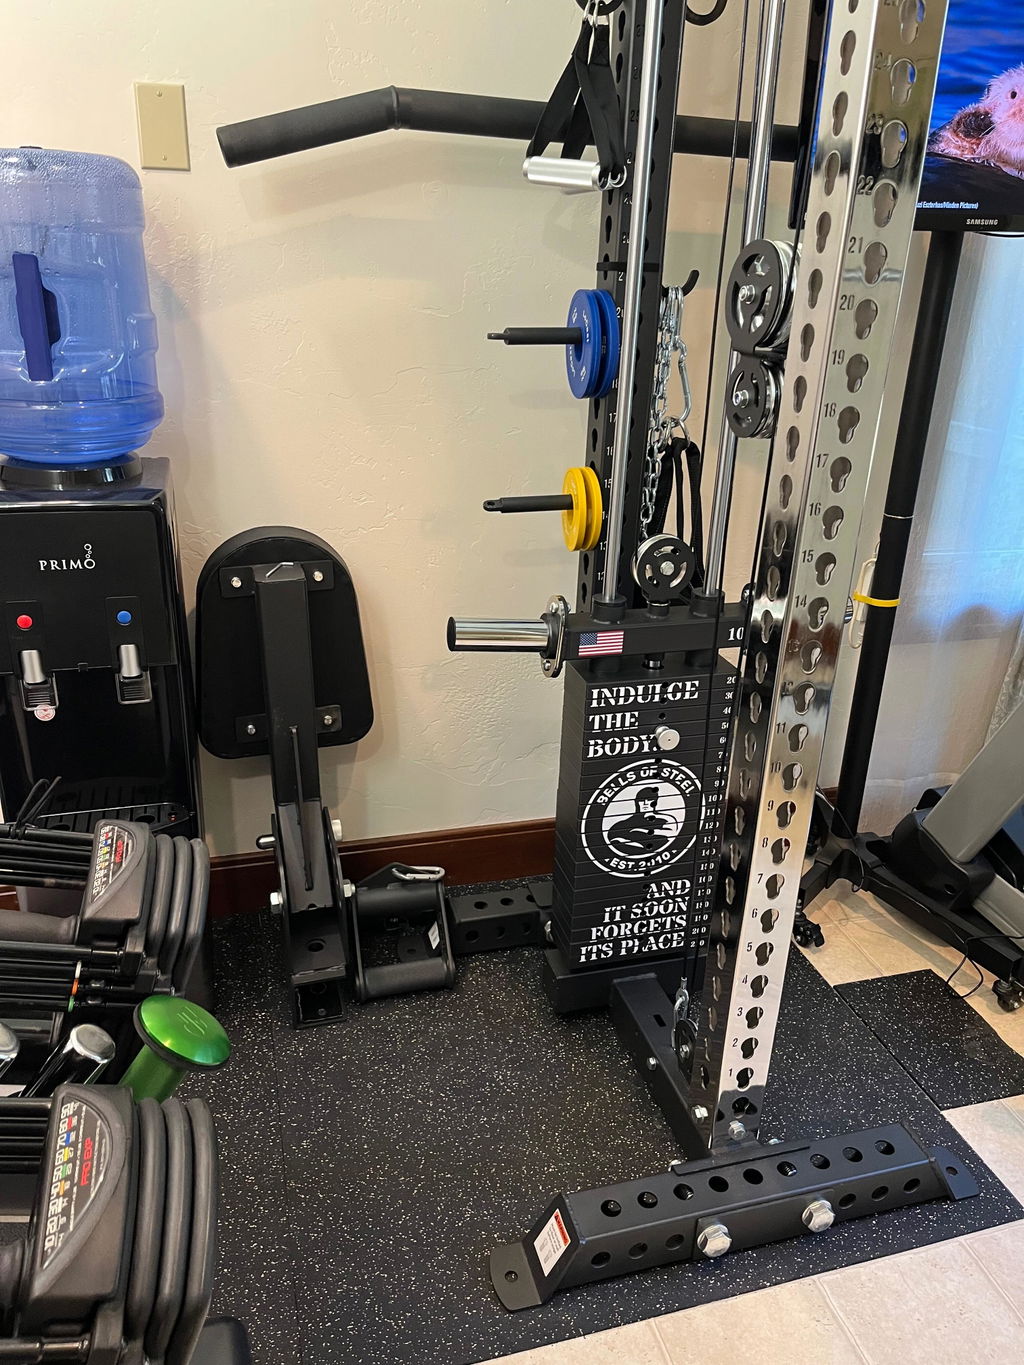
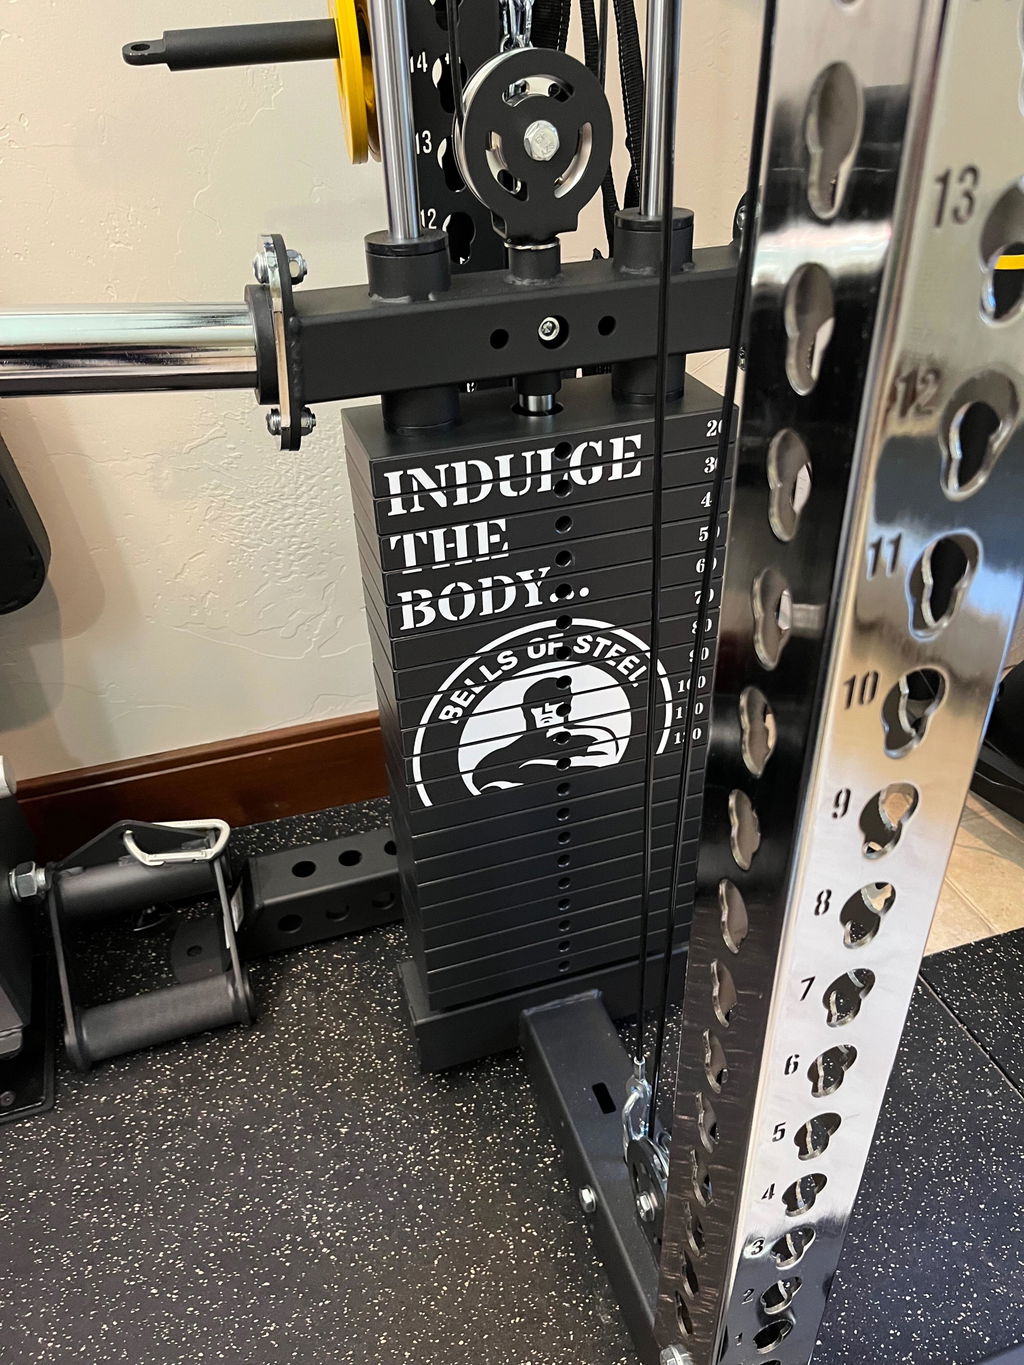
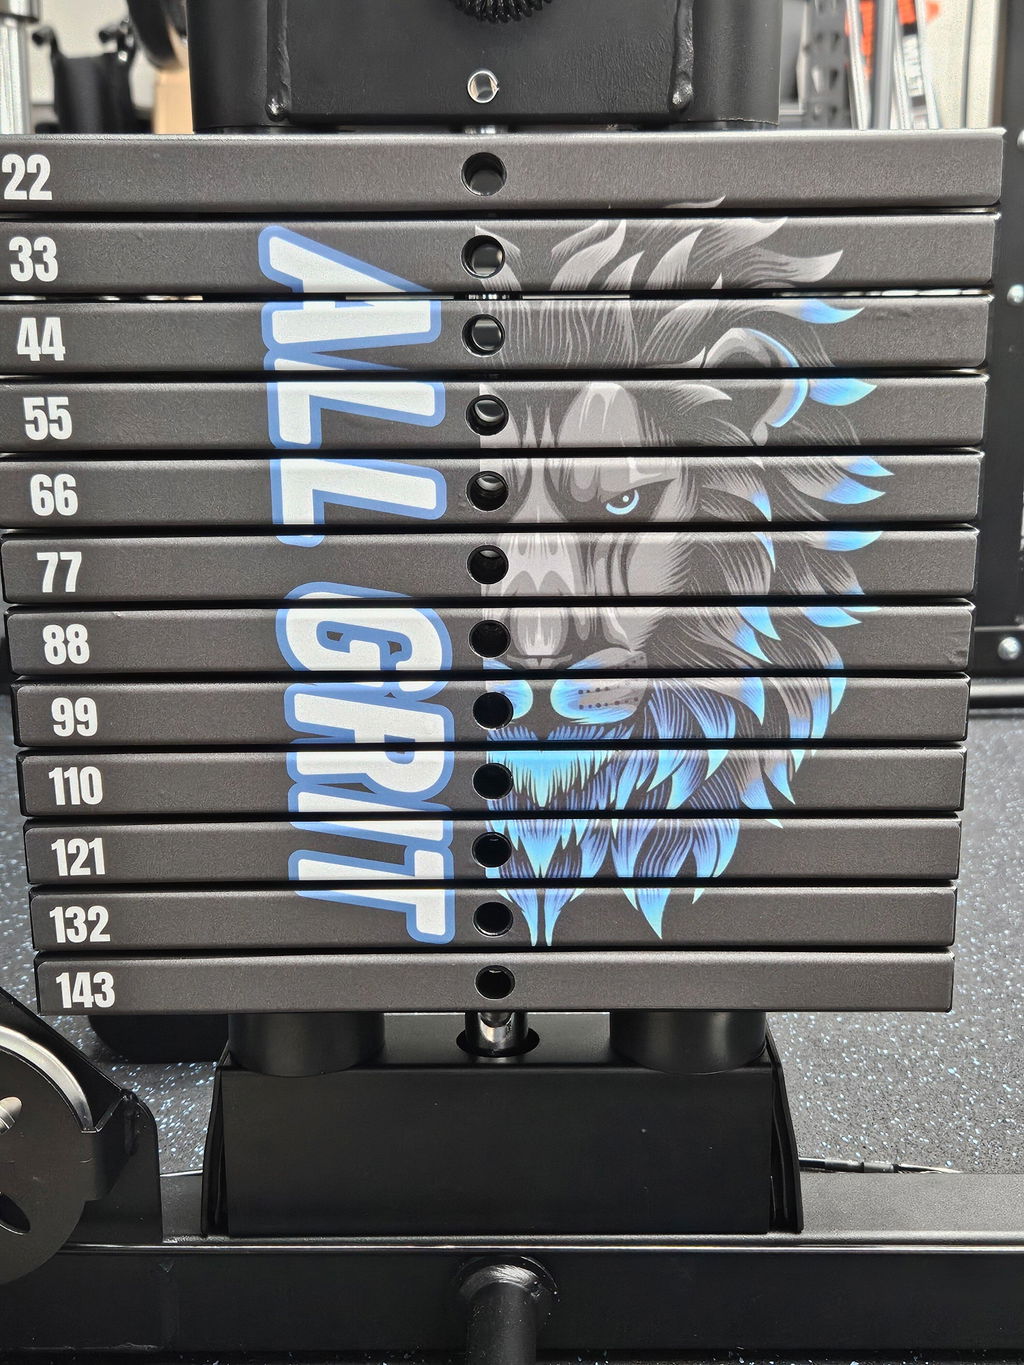
Transform your weight machine with custom weight stack decals made specifically for your equipment. Add your gym logo, custom artwork, weight numbers, or one of our Plate Snacks designs to give your home gym or commercial gym a completely custom look.
Each set is made to fit the individual plates of your weight stack, including the selector-pin hole and your machine's specific plate sizes and numbering.
* Each set covers one side of one weight stack. If you'd like decals for the front and back of the same stack, order a quantity of 2. For a functional trainer with two weight stacks, order a quantity of 2 to cover one side of both stacks.
Designed for Your Weight Stack
Already see your machine listed above? We've already got the information needed to create your decals.
Don't see your machine? Select Other and use our custom configurator to provide your machine information, plate measurements, numbering, selector-hole measurements, and stack photos. We'll use that information to create decals specifically for your equipment.
Choose from a Plate Snacks design or select Custom Design to use your own gym logo, artwork, or design concept.
How It Works
- Choose your design and machine. Select a machine we already support or choose Other for a custom fit.
- Provide your measurements. For unlisted machines, our configurator will walk you through the plate and selector-hole measurements we need.
- Upload photos and artwork. Stack photos help us verify the layout. If you're ordering a Custom Design, upload your logo or artwork as well.
- Review your proof. We'll create a digital proof showing your design, numbering, layout, and cut lines before anything is printed.
- We print and cut your decals. Once approved, your custom weight stack stickers are produced and prepared for installation.
Nothing goes into production until you've had an opportunity to review your proof.
Custom Artwork
For Custom Design orders, upload your logo or artwork through the configurator. High-resolution artwork or vector files will provide the best results.
If your artwork isn't suitable for printing at the required size, we'll let you know before production.
We can work with your supplied artwork and design concept, but logo creation is not included with your order.
Made to Fit Individual Weight Plates
Your finished weight stack decal set arrives on a sheet with each individual plate decal precision cut and ready to apply.
We size the decals slightly inside the edges of the weight plates to account for small variations in the stack and help prevent exposed decal edges from catching or peeling. Corners are also rounded where appropriate for a cleaner, more durable installation.
Because every plate is individually cut, a small gap will remain between each section of the overall design when installed. This allows the individual weight plates to move independently while preserving the complete design across the stack.
Durable Vinyl for Gym Equipment
Our weight stack decals are made from durable adhesive vinyl designed for long-lasting application to gym equipment. They're a great way to replace plain factory weight stack labels or completely customize the look of a cable machine, functional trainer, lat pulldown, selectorized machine, or other weight-stack equipment.
Perfect for:
- Home gyms and garage gyms
- Commercial gyms
- Personal training studios
- Functional trainers
- Cable machines
- Lat pulldown and low-row machines
- Selectorized strength equipment
- Custom and branded gym equipment
How to Apply Weight Stack Decals
- Clean the weight plates thoroughly to remove dust, dirt, grease, and debris.
- Wipe the application surface with rubbing alcohol and allow it to dry completely. **Avoid oily household cleaners that may leave residue behind such as Pine-Sol and Simple Green**
- Peel off one individual plate decal.
- Align the selector-pin hole first, then position the rest of the decal on the plate.
- Press firmly across the entire decal to ensure good adhesive contact and remove trapped air.
- Check the decals over the next day or two and press down any edges as the adhesive reaches its final bond.